Here’s the complete step-by-step journey for creating and publishing a new product so customers can find and order it.
Step 1: Go to the Products Section
From your account menu, open the Store Panel. In the left sidebar, scroll down to the Store section and click Products — this is where all of your listings live.
Step 2: Start a New Listing
On the Products page, click the Add New Product button to open a blank product form and begin creating your listing.
Step 3: Add Your Product Title
Give your product a clear, descriptive name in the Title field (e.g., Signature Artisan Dark Chocolate Fudge Cake). This is the first thing customers will see, so make it specific and appealing.
Step 4: Choose a Category
Select the category that best matches your product (e.g., CustomCake). This helps customers find your item when browsing or searching the site.
Step 5: Set Your Pricing
Enter your Price, and see how much you’ll actually earn shown right next to the field. If you’d like to run a promotion, add a Discounted Price and use the Schedule option to set start and end dates for it.
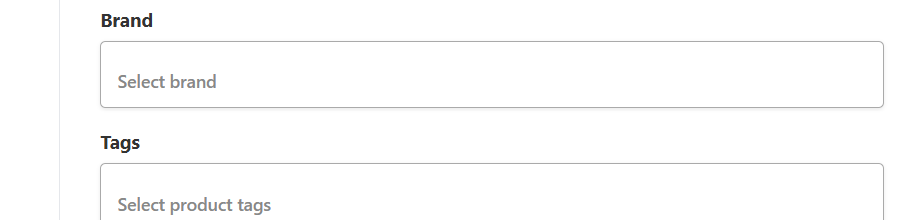
Step 6: Add Brand and Tags
Select a Brand if applicable, and add Tags to make your product easier to discover through search and filters.
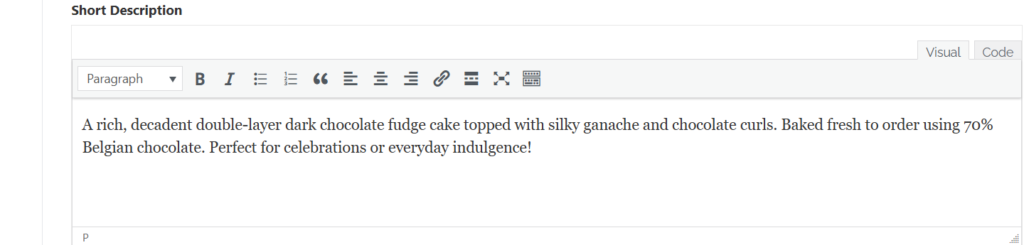
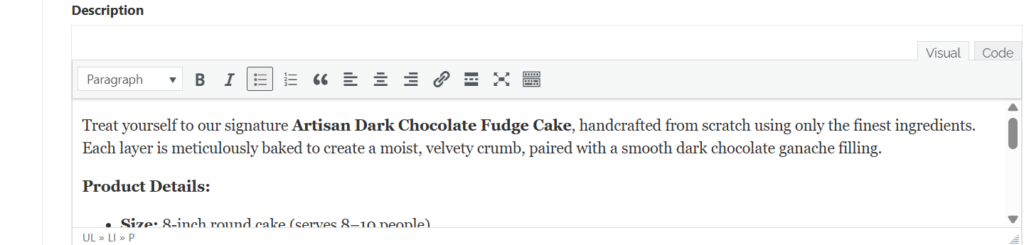
Step 7: Write Your Descriptions
Short Description — A quick 1–2 sentence highlight of what makes the product special.
Description — A more detailed write-up. A good structure is a short intro paragraph followed by a Product Details list covering things like size, servings, flavors, and allergen information.
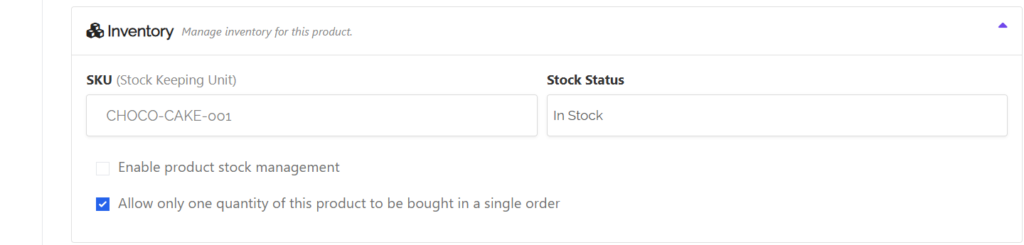
Step 8: Set Up Inventory
SKU — Add a unique product code to help track it (e.g., CHOCO-CAKE-001).
Stock Status — Set to In Stock or Out of Stock.
Enable product stock management — Turn on if you want to track exact quantities.
Allow only one quantity per order — Useful for made-to-order or custom items.
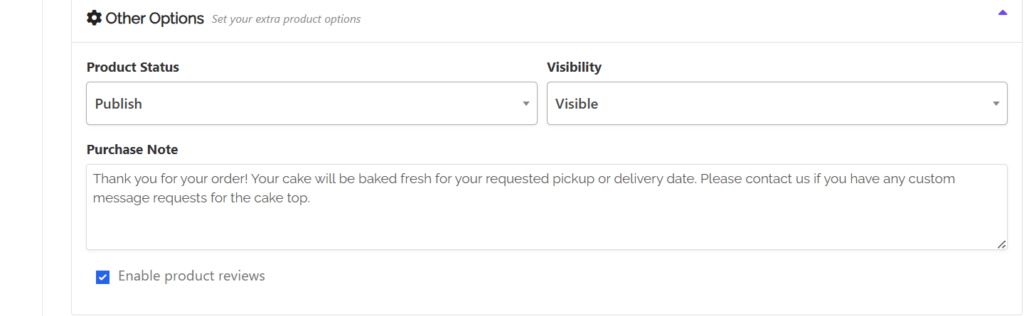
Step 9: Configure Other Options
Product Status — Set to Publish when ready to go live, or Draft to finish later.
Visibility — Set to Visible so customers can find it.
Purchase Note — A short message customers receive in their order email (e.g., delivery timelines or custom requests). Enable Product Reviews — Keep this checked so customers can leave feedback.
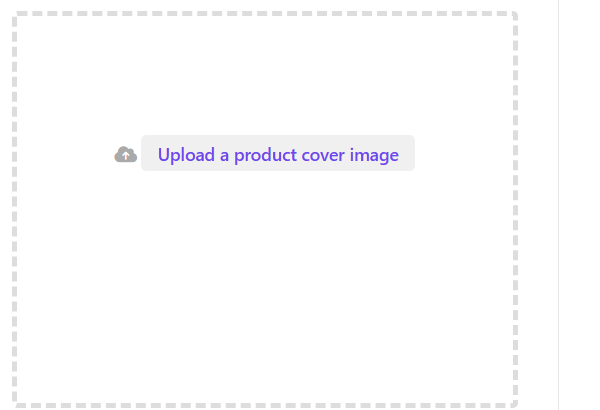
Step 10: Upload a Product Photo
Click the image upload area on the right side of the form to add a high-quality photo of your product. Great photos make a big difference in catching a customer’s eye.
Step 11: Save and Publish
Once everything is filled in, click Save Product. Your listing is now live and ready for customers to browse, order, and review.