Here’s the complete step-by-step journey for setting up your bakery listing from start to finish.
Step 1: Go to List Your Bakery
From the sidebar, click List Your Bakery under the Listings section. This opens the full listing form where you’ll build out your bakery’s profile.
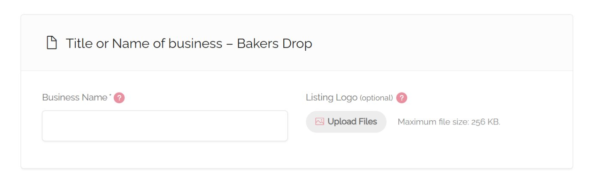
Step 2: Add Your Business Name and Logo
Business Name — Enter the name of your bakery. This field is required.
Listing Logo (optional) — Upload your logo using the Upload Files button (max file size 256 KB).
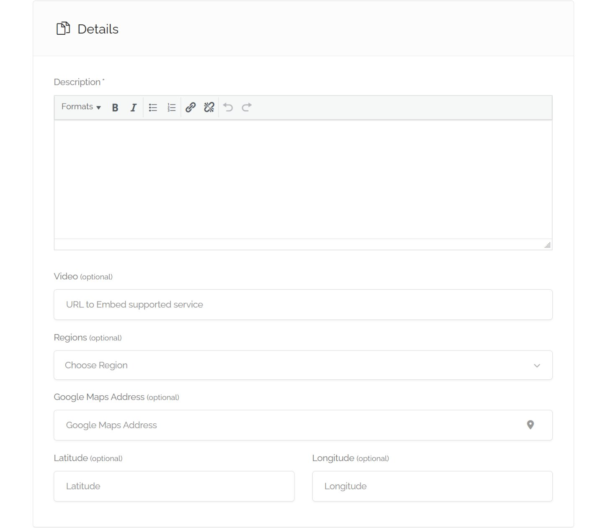
Step 3: Fill In the Details Section
Description — Write a description of your bakery. This field is required and appears as your main introduction to customers.
Video (optional) — Paste a URL to an embeddable video if you’d like to showcase your bakery.
Regions (optional) — Choose the region your bakery serves from the dropdown.
Google Maps Address (optional) — Enter your address so customers can locate you on the map.
Latitude / Longitude (optional) — These can be filled in automatically once an address is selected, or entered manually.
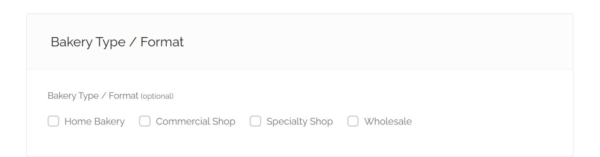
Step 4: Select Your Bakery Type / Format
Check any that apply: Home Bakery, Commercial Shop, Specialty Shop, or Wholesale. This is optional but helps customers understand what kind of operation you run.
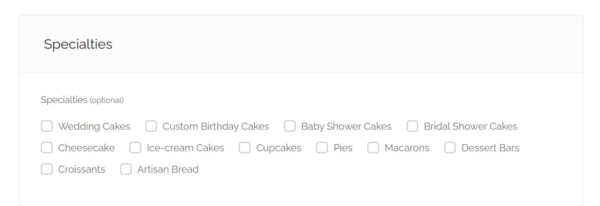
Step 5: Choose Your Specialties
Select all the categories that describe what you make — options include Wedding Cakes, Custom Birthday Cakes, Baby Shower Cakes, Bridal Shower Cakes, Cheesecake, Ice-cream Cakes, Cupcakes, Pies, Macarons, Dessert Bars, Croissants, and Artisan Bread.
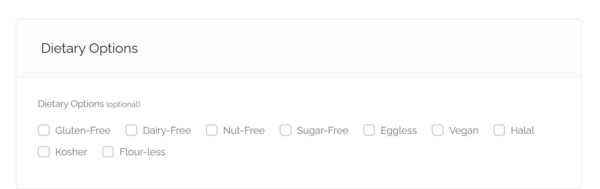
Step 6: Set Your Dietary Options
Check any dietary accommodations you offer: Gluten-Free, Dairy-Free, Nut-Free, Sugar-Free, Eggless, Vegan, Halal, Kosher, or Flour-less.
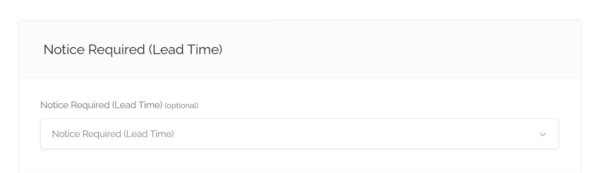
Step 7: Set Notice Required (Lead Time)
Choose how much advance notice you need for orders from the dropdown menu. This helps set the right expectations with customers before they order.
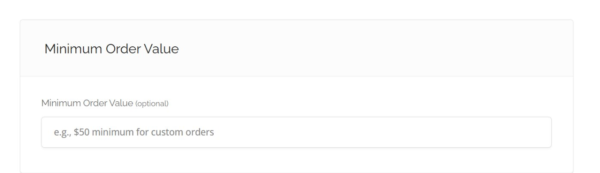
Step 8: Enter a Minimum Order Value
If you have one, add it here (e.g., $50 minimum for custom orders). This field is optional.
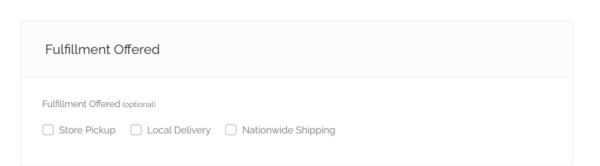
Step 9: Select Fulfillment Offered
Check which delivery options you provide: Store Pickup, Local Delivery, and/or Nationwide Shipping.
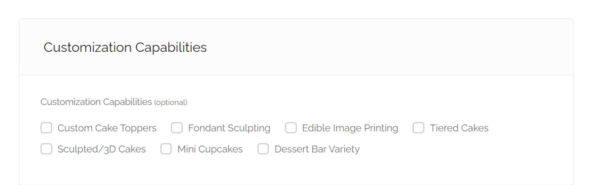
Step 10: Choose Your Customization Capabilities
Select what customers can customize: Custom Cake Toppers, Fondant Sculpting, Edible Image Printing, Tiered Cakes, Sculpted/3D Cakes, Mini Cupcakes, and/or Dessert Bar Variety.
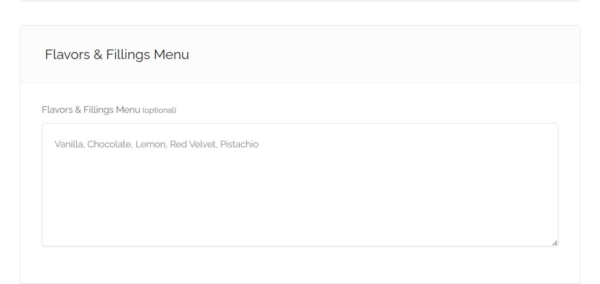
Step 11: List Your Flavors & Fillings Menu
Add a list of the flavors and fillings you offer (e.g., Vanilla, Chocolate, Lemon, Red Velvet, Pistachio).
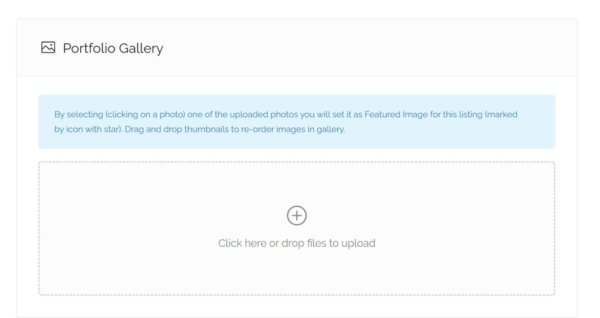
Step 12: Upload Your Portfolio Gallery
Click the upload area or drag and drop your photos to build a gallery of your work. Clicking on any uploaded photo sets it as the featured image for your listing, and you can drag and drop thumbnails to reorder them.
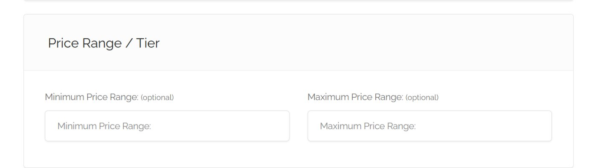
Step 13: Set Your Price Range / Tier
Enter a Minimum Price Range and Maximum Price Range to give customers a general sense of your pricing.
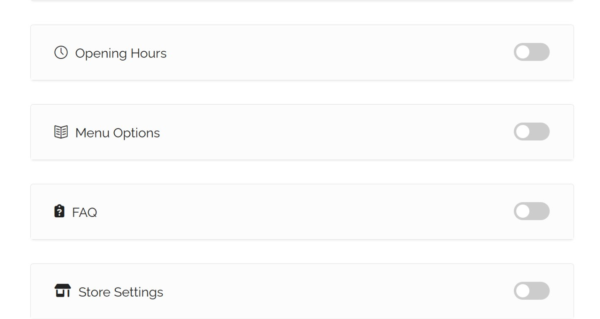
Step 14: Turn On Optional Sections
Toggle on any of the following if they apply to your bakery:
Opening Hours
Menu Options
FAQ
Store Settings
Each of these expands into its own set of fields once switched on.
Step 15: Preview and Submit
Once everything is filled in, click the Preview button at the bottom of the form to review your listing before it goes live.